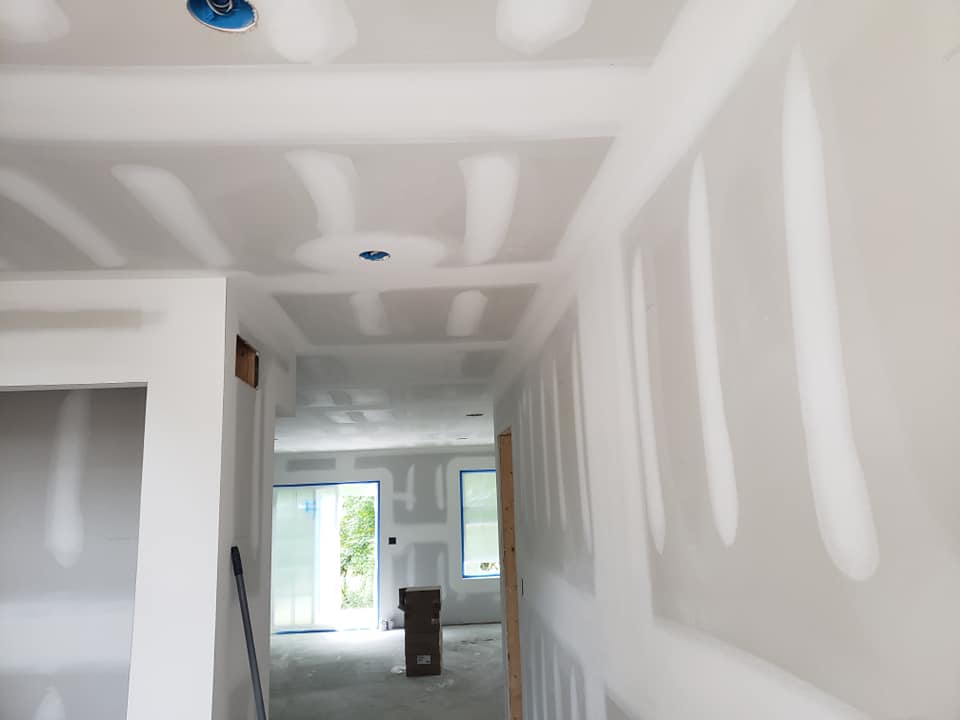
How to Patch Drywall Like a Pro
Patching drywall is a crucial skill for homeowners and DIY enthusiasts alike. Whether you're dealing with small holes from nails to larger damage caused by accidents, knowing how to repair drywall can save you time and money. In this guide, we will walk you through the steps to patch drywall like a professional.
Understanding Drywall Damage
Before we dive into the patching process, it's essential to understand the different types of drywall damage you might encounter.
- Small nail holes
- Dents and dings
- Cracks
- Large holes (e.g., from doorknobs)
- Water damage
Essential Tools and Materials
To effectively patch drywall, you'll need the right tools and materials. Here’s a list of what you should gather before starting your repair:
- Drywall compound (joint compound)
- Drywall tape (mesh or paper)
- Putty knife
- Drywall saw (for larger holes)
- Sandpaper or sanding block
- Primer and paint
- Safety goggles and mask
Step-by-Step Guide to Patching Drywall
Now that you have your tools ready, follow these steps for a professional-looking drywall repair:
1. Prepare the Area
Start by cleaning the area around the damage. Remove any loose debris or paint to ensure a clean surface for the patch. If you're repairing a large hole, use a drywall saw to create a neat square or rectangle around the damage.
2. Apply the Patch
For smaller holes, apply a layer of drywall compound directly over the hole using a putty knife. For larger holes, place a piece of drywall cut to size into the opening and secure it with screws.
3. Tape the Seams
Once the patch is in place, apply drywall tape over the seams. This step is crucial as it helps to prevent cracking and provides strength to the repair.
4. Apply Joint Compound
Using the putty knife, apply a generous layer of joint compound over the tape and the entire area you’re repairing. Feather the edges to blend it with the surrounding drywall.
5. Let it Dry
Allow the compound to dry completely. This may take several hours or even overnight, depending on the size of the patch and environmental conditions.
6. Sand the Area
Once dry, sand the patched area using fine-grit sandpaper until it is smooth and flush with the wall. Be careful not to over-sand, which can damage the patch.
7. Prime and Paint
Finally, apply a coat of primer to the patched area to seal it. Once the primer dries, paint over it to match the rest of your wall. This will ensure a seamless finish.
Common Mistakes to Avoid
When patching drywall, avoid these common pitfalls:
- Rushing through the drying time
- Not applying enough joint compound
- Skipping the sanding step
- Using too much pressure while sanding
- Failing to match the texture of the surrounding wall
Conclusion
Patching drywall may seem daunting, but with the right tools and techniques, anyone can do it like a pro. Remember to take your time, follow the steps carefully, and soon your walls will look as good as new. For more home improvement tips and professional guidance, visit MJ Advanced Drywall Inc.